
Learn to Build Your Own Home Security System
Whether you’re hoping to protect against break-ins, check on your property remotely, or just feel more secure day-to-day, designing your own alarm system is easier than ever. With modern wireless technology and app integration, you can choose exactly what you need—without the pressure of long contracts or professional installations.
This guide is designed to teach you what to look for, what to avoid, and how to plan your setup with confidence. It’s perfect for homeowners who want to take control, learn as they go, and build a reliable system that meets their exact needs.
Key Takeaways
- Include core components: alarm panel, keypad(s), cameras, etc.
- Optional add-ons can strengthen your system.
- Proper placement and testing are essential for performance.
- DIY systems can start small and grow as needed.
Step 1: Define Your Security Goals
Every home and business is different, so there’s no universal solution. Start by asking what you’re trying to accomplish. Do you want to prevent break-ins? Do you need to keep an eye on kids or deliveries while you’re away? Or maybe you’re more concerned about environmental hazards like smoke or flooding. Your answers will guide how simple or advanced your setup should be.
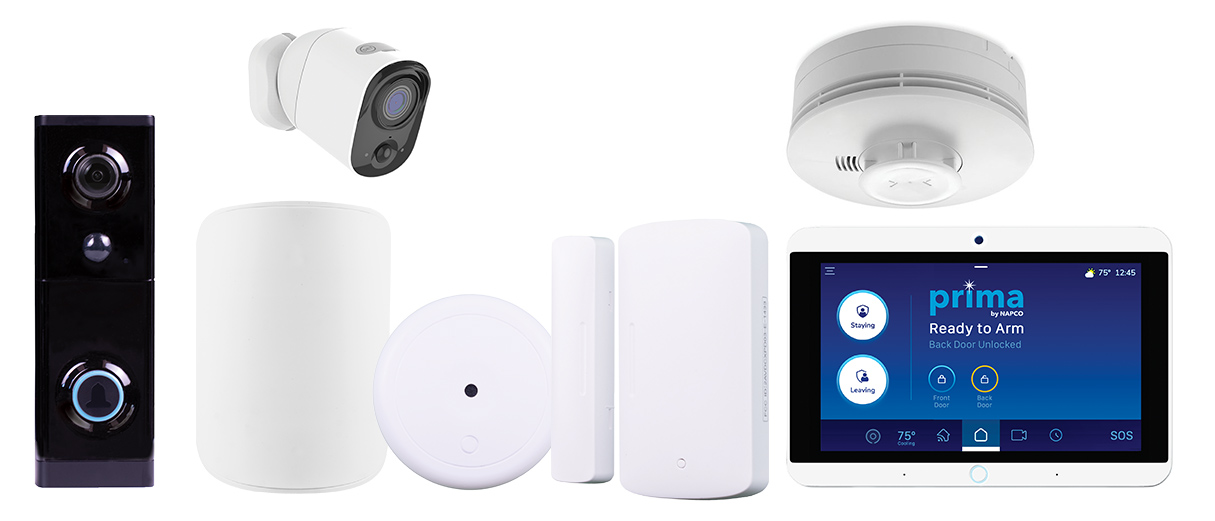
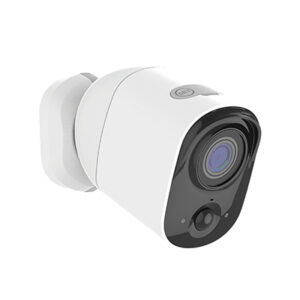
Step 2: Understand the Core Components
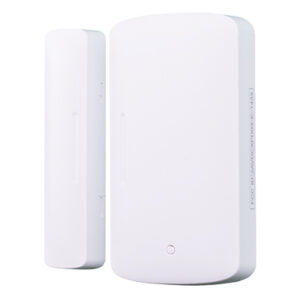
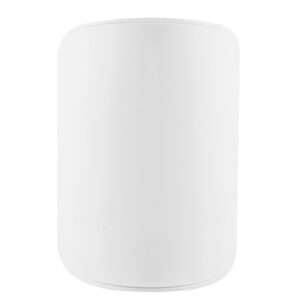
Every solid DIY system begins with a few essential pieces. These typically include:
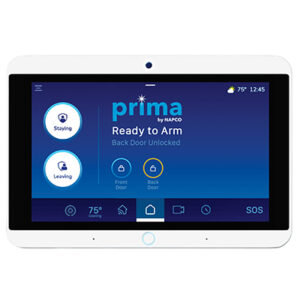
Control PanelThe central unit that connects and manages all devices.
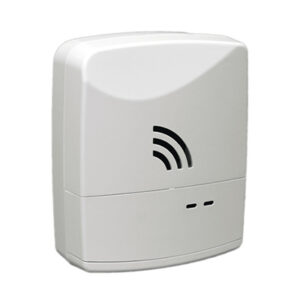
Step 3: Add Helpful Extras for More Coverage
Once you’ve covered the essentials, consider adding more advanced components to fill any gaps:
Glass Break Sensors Detect the sound of shattering glass.

Video Doorbells Let you see and speak with visitors from anywhere.
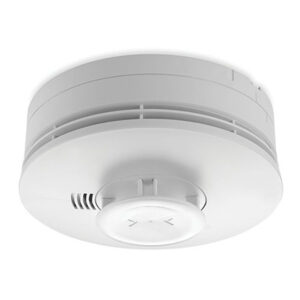
Environmental Sensors Alert you to smoke, carbon monoxide, or water leaks.
Need help setting up your alarm monitoring?
If building your own DIY security system feels overwhelming, or if you want to ensure professional monitoring without replacing your entire setup, talk to an alarm monitoring expert at Alarm Relay.
Our team will help you choose the best options, answer your questions, and guide you every step of the way.
Step 4: Plan and Install Your System
Take time to map out your home before installing anything. Identify all doors, windows, and common entry points.
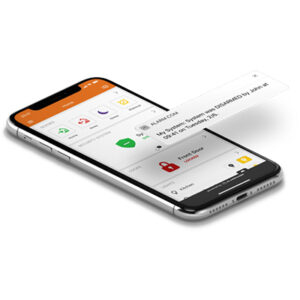
Once your devices are installed, test everything. Walk through each zone to confirm that doors and motion sensors are all triggering alerts as expected.
Step 5: Avoid These Common Mistakes
Even with the best equipment, mistakes during setup can reduce your system’s effectiveness. Here are a few to watch out for:
- Forgetting secondary entry points like side doors or basement windows.
- Not testing each device after installation.
- Skipping app configuration, leading to too many or too few alerts.
Checking each device and setting up your app correctly ensures your system performs as expected when it matters most.
Customize and Expand Over Time
There’s no need to do everything at once. A big advantage of DIY systems is flexibility—you can start with a few key devices and build out from there. As your needs change, you can add more sensors. The goal is to create a system that matches your home’s layout, your lifestyle, and your level of comfort with technology.
Need professional 24/7 Monitoring?
At Alarm Relay, we support DIY home security setups by offering reliable, professional monitoring—without locking you into long contracts. Whether you need round-the-clock coverage or just peace of mind when you’re away, our team is ready to help.
👉 Contact Alarm Relay today to find out how we can help secure your DIY system with expert monitoring you can trust.
